Projects
Project Types
There are two types of projects:
| Type | Description |
|---|---|
| Team Project | Project with user and group management |
| Personal Project | Project that belongs to only one person; there is no user management |
- Only Administrators and Application Managers can create team projects.
- Personal projects can be created by anyone.
Creating Projects
Kanboard can handle multiple projects.
Creating Projects for Multiple Users
- Only administrators and managers can create these projects.
- User management is available.
From the dashboard, click on the link New project:
It’s very easy: you just have to find a name for your project!
Creating a Personal Project
- Anybody can create a personal project.
- There is NO user management.
- Only the owner and administrators can access the project.
From the dashboard, click on the link New personal project.
Creating Projects from Another Project
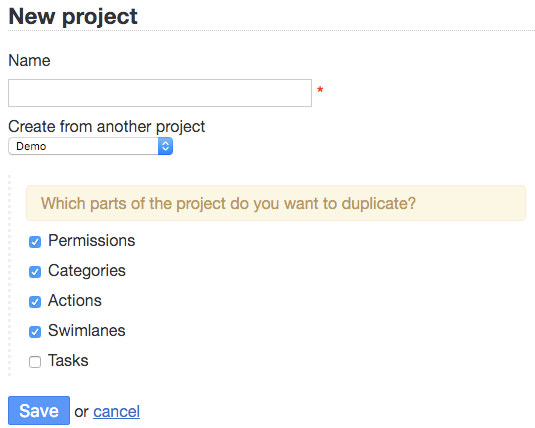
When you create a new project, you can choose to duplicate the properties of another project:
- Permissions
- Actions
- Swimlanes
- Categories
- Tasks
Editing Projects
Projects can be modified at any time.
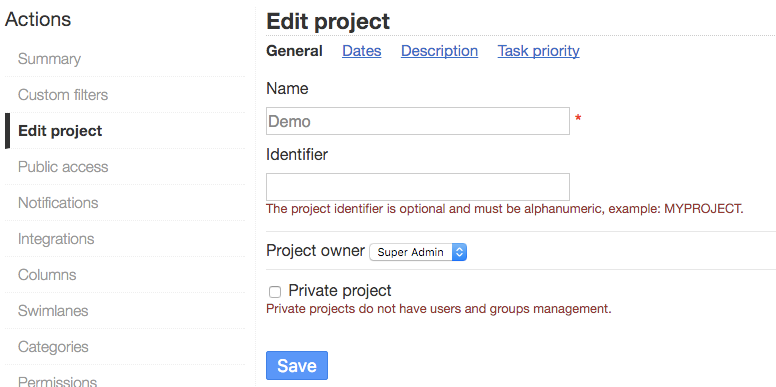
To rename a project, click on the link Edit project on the left.
- The start date and end date are used to generate the project Gantt chart.
- The description is visible as a tooltip on the board and on the projects listing page.
- Administrators and project administrators can convert a personal project to a multiple-user project by changing the checkbox Personal project.
- You can also convert a multiple-user project to a personal project.
Note: When you make a project personal, all existing users will still have access to the project. You must adjust the list of users according to your needs.
Removing Projects
To remove a project, you must be the manager of the project or an administrator.
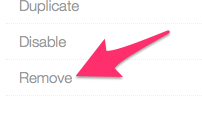
Go to Project settings, and from the menu on the left, at the bottom, choose Remove.
Removing a project deletes all tasks that belong to this project.
Project Permissions
Each project is isolated from other projects. Project access must be allowed by the project owner.
Each user and each group can have a different role assigned. There are three types of roles for projects:
- Project Manager
- Project Member
- Project Viewer
Only administrators have access to everything.
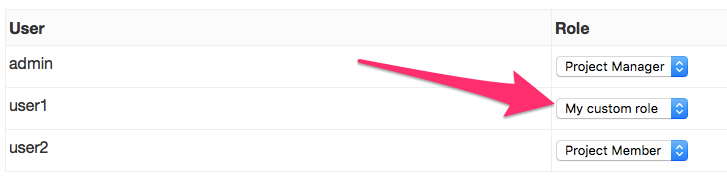
Role assignments are visible in Project Settings > Permissions:
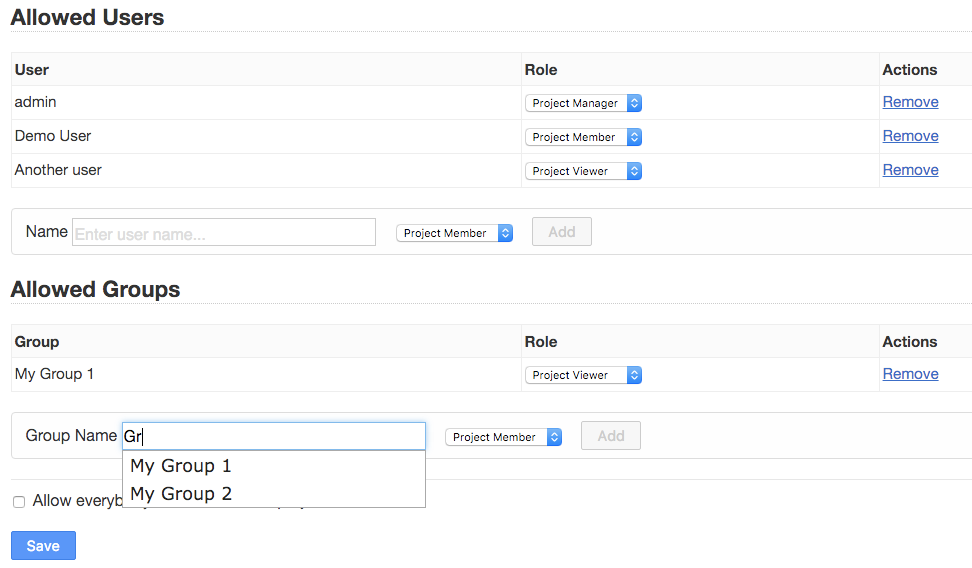
Personal projects cannot define permissions.
Custom Project Roles
You can create custom project roles to apply a set of specific restrictions on the people that belong to this role. These custom roles are defined for each project.
A custom role inherits from the project member role. For example, you may want to create a custom role to force someone to follow a process. You can have a group of people that are allowed to move tasks only from the column “Work in progress” to the column “Done.”
Available Restrictions
- Project Restrictions:
- Task creation is not permitted.
- Closing or opening a task is not permitted.
- Moving a task is not permitted.
- Column Restrictions:
- Task creation is allowed only for a specific column.
- Task creation is blocked only for a specific column.
- Closing or opening a task is allowed only for a specific column.
- Closing or opening a task is blocked only for a specific column.
- Moving tasks only between specified columns.
Configuration
1) Create a New Custom Role
From the project settings, click on Custom Roles in the left menu, and at the top of the page, click on Add a new custom role.
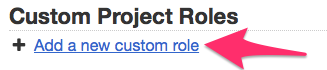
Give a name to the role and submit the form.
2) Add a Restriction to the Role
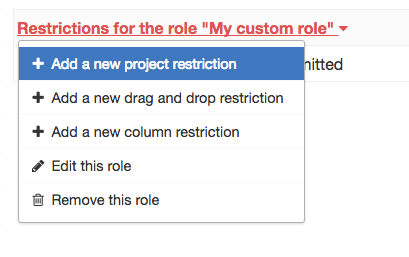
There are different kinds of restrictions:
- Project restrictions
- Drag-and-drop restrictions
- Column restrictions
You can click on the dropdown menu in the table to add a new restriction:
3) List of Restrictions
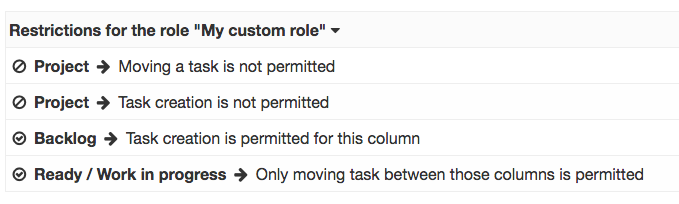
For example, this role is able to create tasks only in the column “Backlog” and to move tasks between the columns “Ready” and “Work in progress.”
4) Assign the Role to Someone
Go to the Permissions section in the left menu and assign the desired role to the user.
Examples
Allow People to Create Tasks Only in Specific Columns
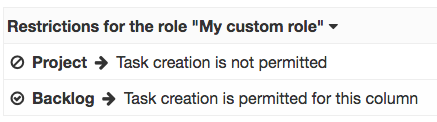
- Users that belong to this role will be able to create new tasks only in the column “Backlog.”
- The combination of the two rules is important; otherwise, it will not work.
Allow People to Change the Task Status Only in Specific Columns
- Users that belong to this role will be able to change the task status in the column “Backlog.”
- Tasks with the status “open” are visible on the board, and tasks with the status “closed” are hidden by default on the board.
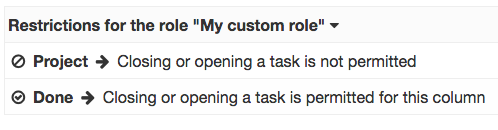
Do Not Allow People to Change Task Status in a Specific Column

Users that belong to this role won’t be able to change the task status in the column “Done.” However, it will be possible in other columns.
Allow People to Move Tasks Only Between Specific Columns

Users that belong to this role will be able to move tasks only between the columns “Ready” and “Work in progress.”
Sharing Boards and Tasks
By default, boards are private, but it’s possible to make a board public.
A public board cannot be modified: it has read-only access. Access is protected by a random token. Only people who have the correct URL can see the board.
Public boards are automatically refreshed every 60 seconds. Task details are also available in read-only mode.
Usage examples:
- Share your board with someone outside of your organization.
- Display the board on a large screen in your office.
Enable Public Access
Select your project, then click on Public access and finally click on the button Enable public access.

When public access is enabled, a couple of links are generated:
- Public board view
- RSS feed subscription link
- iCalendar subscription link
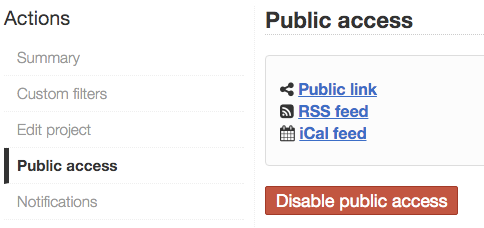
You can also disable public access whenever you want.
Each time you enable or disable public access, a new random token is generated. The previous links will not work anymore!
Custom Filters
Custom filters allow you to save any search query. In this way, you can extend the default filters easily and save the most-used search queries.
- Custom filters are stored by project and associated with the creator.
- If the creator is a project manager, they can choose to share the filter with other project members.
Filter Creation
Go to the action dropdown or in the project settings and choose Custom filters:
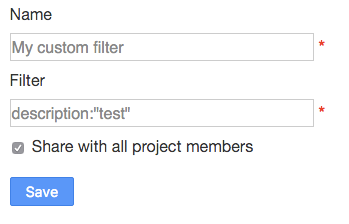
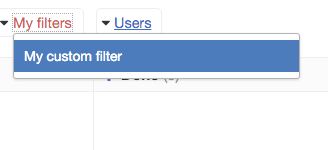
After creating your filter, it will appear on the board next to the default filters: